If you create a new DSS service for Microsoft Robotics Studio that is not located within the MSRS directory you have to adjust some minor settings in Visual Studio 2005. You will realize dssnewservice.exe is a very helpful tool to create new services. If you follow the instructions below, you can set up new services within less than a minute if they are not located within the MSRS directory.
Prerequisites
The first you should set some more environment variables to your system to make development much more convenient. Extend the PATH system variable in System Properties / Environment Variables / Edit User Variable to %PATH%;C:\Program Files\Microsoft Visual Studio 8\SDKv2.0\Bin;C:\Microsoft Robotics Studio (August 2006)\bin;C:\WINDOWS\Microsoft.Net\Frameworkv2\v.0.50727
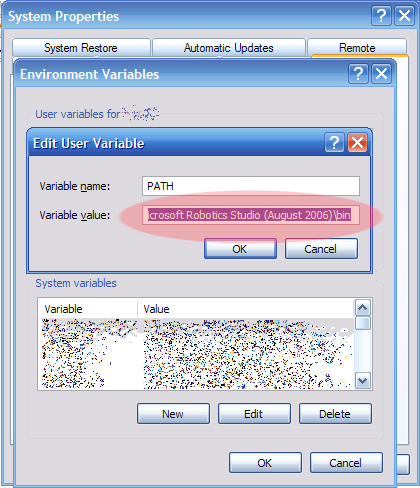
The first is not necessary but makes life easier, e.g. when you want to call tools such as ildasm.exe from command line. The second gives easy access to dssnewservic.exe. The last path is required to use dssproxy.exe later during compile time to gain access to msbuild.exe.
Create a new DSS service
Go to the folder where you want to create the new service. E.g. in C:\Documents and Settings\aheil\My Documents\Visual Studio 2005\Projects\MySolution you can type
> dssnewservice /namespace:My.Namespace.MyProject /service:MyService
Now add this project in your Visual Studio solution. right-click your solution in Solution Explorer and choose Add / Existing Project … Browse to the service created before and choose MyService.csproj.
Setup Project Properties in Visual Studio 2005
Now you can easily set up the properties. Chose Project / MyService Properties … to open the properties tab.
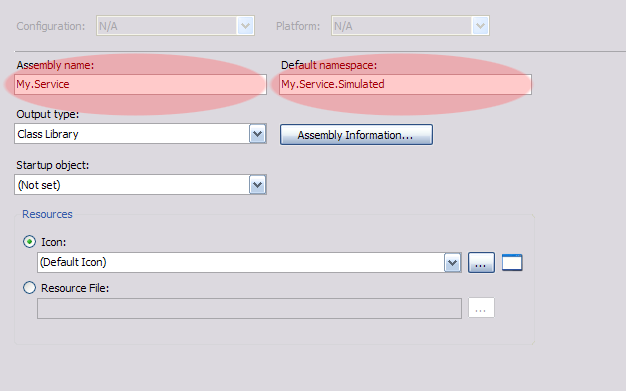
- Chose Application and adjust the assembly and namespace name you prefer.
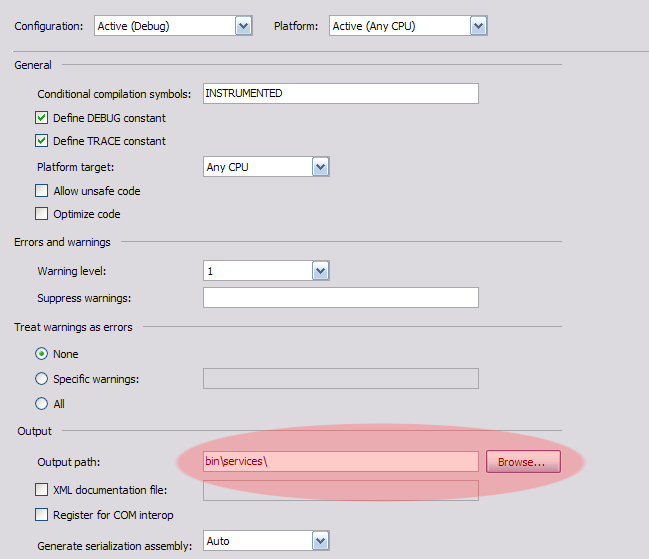
- Chose Build and adjust the Output path. MSRS assumes that you create the service within the MSRS folder. So chose C:\Microsoft Robotics Studio (August 2006)\bin\services to cause Visual Studio to copy the files to the appropriate location.
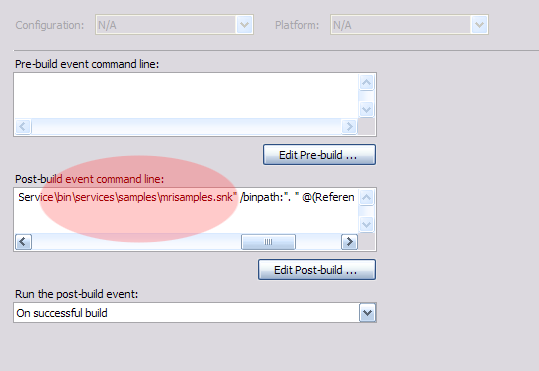
- Now modify the build events. Since dssnewservice.exe assumed your project to be located in the MSRS directory, the path for the signing keyfile is pointing to a wrong place. Either correct the path to the sample .snk file or use a path to your own key file to sign the proxy assembly. If you don’t, this will result in a error code -1 by the dssproxy.exe during compile time. When the proxies are created msbuild.exe is used. that was by the way the reason to add the third path at the beginning to your environment variables. Otherwise you get a code 3 by the dssproxy.exe.
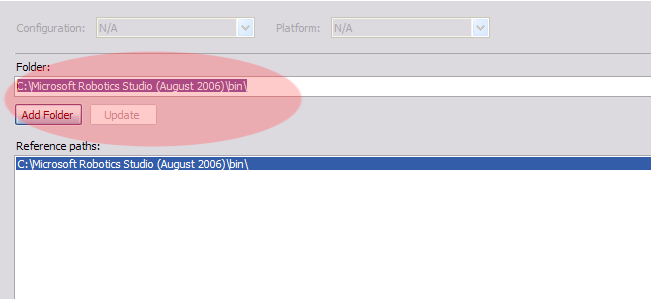
- You will realize, the CRR and DSS references are not available within your project. Instead of removing and adding them again, just select the Reference Paths tab. There browse to the folder C:\Microsoft Robotics Studio (August 2006)\bin and press the Add Folderbutton.
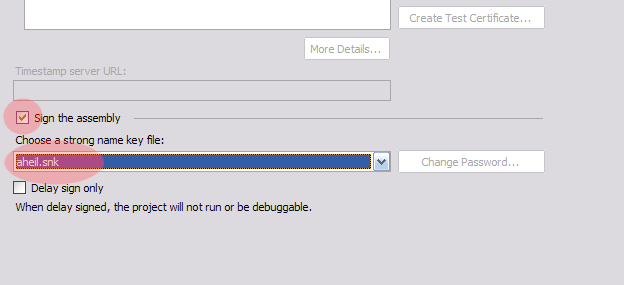
- Finally sign your assembly. Chose the Signing tab, check the Sign the assembly box and select <Browse>to chose a keyfile to sign.
- Press F6 and compile your solution.
Remarks
I’ve tried these steps with several projects, so these steps should also work for you. If you encounter any problems drop a comment. Please be aware of the fact that you follow these instructions on your own risk. So don’t blame me if anything does not work like expected. Also this is not a official support article of Microsoft or the Robotics group. I did write this in my spare time to share some experience with the MSRS community. Also, these steps are supposed to work with the August 2006 CTP of the MSRS.