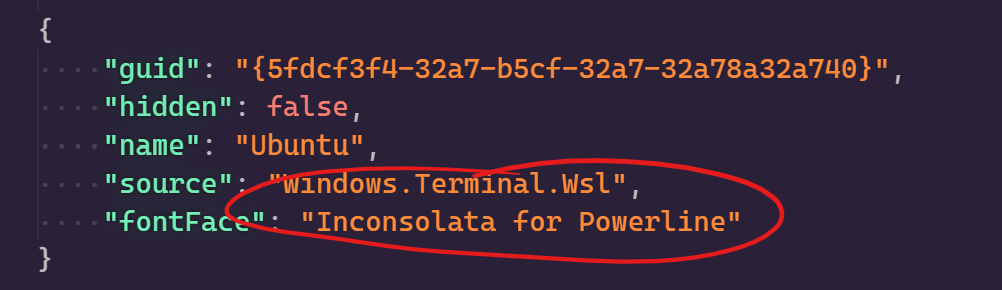
Automated Installation of exa in WSL

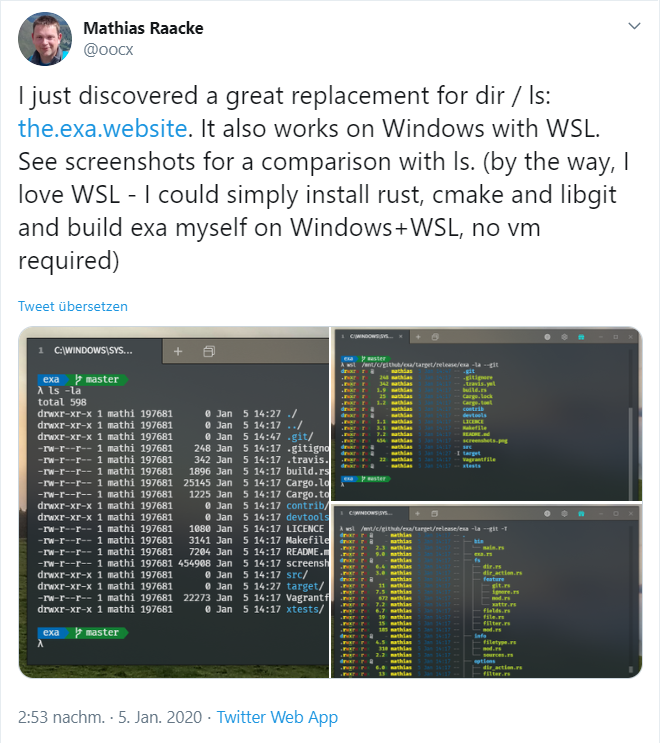
Recently, I was pointed to exa by this tweet from Mathias.

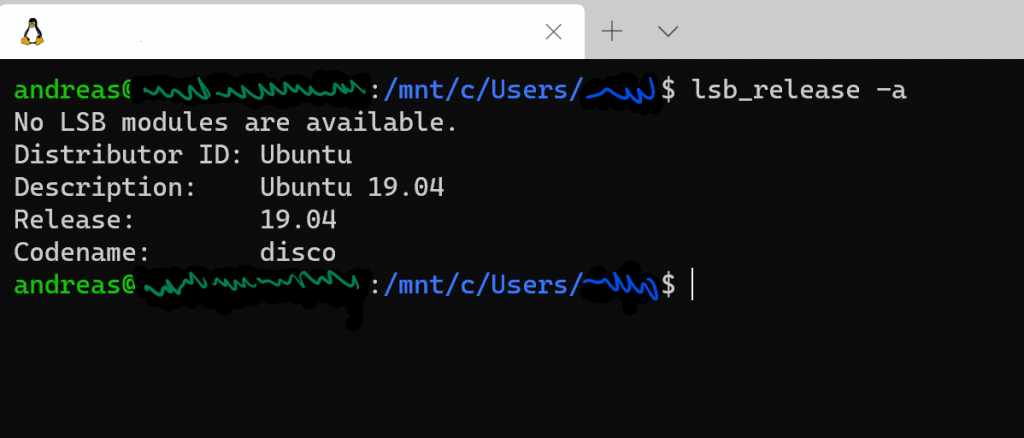
The installation is pretty easy. Unless you are using Ubuntu (as WSL) as there is no package available. But then again, compiling it by yourself is pretty straightforward as well.

1. Download and install Rust for your platform.

2. Install libgit2 and cmake.

3. To download the latest version, run: git clone https://github.com/­ogham/exa.git

4. Run make install in the new directory to compile and install exa into /usr/local/bin.

As you might know, I am using Ansible to install all of my WSL instances. Eventually, things did turn out not so easy. However, two evenings later, I finished an Ansible role doing this fully automated.

Eventually, you have to set the variables for exa_dir and rust_dir to make this role working. That way, you not only get a great tool, but you also get it fully automated into your Ubuntu WSL.

Link: https://the.exa.website/
Gist: https://gist.github.com/aheil/387336a46938ff5c53ea51a1591f6ca5

Use WSL as Integrated Terminal with Powerline fonts

If you are not happy enough just using WSL from Visual Studio Code, you can use it as an integrated shell as well.

Simply open a new Terminal Window in Visual Studio Code, add a new one and select Select Default Shell.

Now chose your WSL as default one.

As I have installed agnoster themed oh-my-zsh using Powerline fonts, the terminal was messed up at the beginning because I was using Cascadia Code as monotyped font. While Cascadia is actually not yet fully Powerline enabled, I am currently using Delugia Nerd Font as a substitute.

All together, this is a wired “hackatory”. However, it’s quite fun, and personally, I like the result:

Keep Calm and use WSL from VS Code

In case you did not know: You can use WSL (Windows Subsystem for Linux) as your shell in Visual Studio Code. This comes in very handy if you did mod the hell out of your WSL, as I did.

The Visual Studio Code Remote – WSL extension lets you use the Windows Subsystem for Linux (WSL) as your full-time development environment right from VS Code. You can develop in a Linux-based environment, use Linux-specific toolchains and utilities, and run and debug your Linux-based applications all from the comfort of Windows.

Link: https://docs.microsoft.com/windows/wsl

Powerline Fonts in Windows WSL

Just in case you like modding your environment as I do, you might end up as well in a situation where you SSH into a remote server or using WSL requiring Powerline Fonts. And just in case, if you are wondering what Powerline is? Here you go:

Powerline is a statusline plugin for vim, and provides statuslines and prompts for several other applications, including zsh, bash, tmux, IPython, Awesome and Qtile. 

The problem arises if your host system is Windows and you are using SSH and WSL a lot as I do.

Stanley Meng provides a condensed instruction set on how to get Powerline fonts on your Windows system up and running.

Once you installed the fonts, you can select them e.g. for WSL:

Update (2019-11-18)
While I was looking for the new Cascadia Code font providing Powerline glyphs, I was pointed to Delugia, which in fact is Cascadia Code extended with Powerline glyphs.

Powerline: https://github.com/powerline/powerline
Powerline on Windows: https://medium.com/@slmeng/how-to-install-powerline-fonts-in-windows-b2eedecace58
Bash on Ubuntu on WSL: https://medium.com/@jrcharney/bash-on-ubuntu-on-windows-the-almost-complete-set-up-1dd3cb89b794
Powerline Fonts: https://github.com/powerline/fonts
Delugia Font: https://github.com/adam7/delugia-code/releases

Automatically upgrading Ubuntu on WSL to the latest release

As I use multiple Windows machines, all running the identical setup of WSL (Ubunto) I wanted to keep all these instances automatically updated.

I am using Ansible scripts to set up the WSL. While all the files are hosted on the file system (\mtn\c\…) I can throw away a WSL instance and create a new one within minutes.

While many packages are not available on Ubunto 18.04 LTS, I created a small Ansible task upgrading my WSL to the latest Ubuntu version available.

  1. Start your WSL instance the very first time and run sudo apt-get update
  2. Install ansible by running sudo apt-get install ansible
  3. Make sure the Ansible scripts are located on the host system (e.g. c:\dev\…)
  4. Start your WSL instance and change e.g. to /mnt/c/dev
  5. Run your Ansible playbook as sudo

You can check your dist version with lsb_release -a:

No LSB modules are available.
Distributor ID: Ubuntu
Description:    Ubuntu 19.04
Release:        19.04
Codename:       disco

The Ansible tasks can be found here.

GitHub Gist: https://gist.github.com/aheil/6d48a77ac44c83e00666d3c49ffd7890